A wood stove can provide you with a consistent flow of warmth and heat. But you must also notice how well you’re going to make your wood stove work at your place. You do not want to waste the wood materials that you’re burning when trying to make your stove work well. There are many steps that can be used in helping you with making your wood stove more effective and easy to use when you need the heat that you require for keeping your space warm.
Contents
1. Note the type of wood you are using
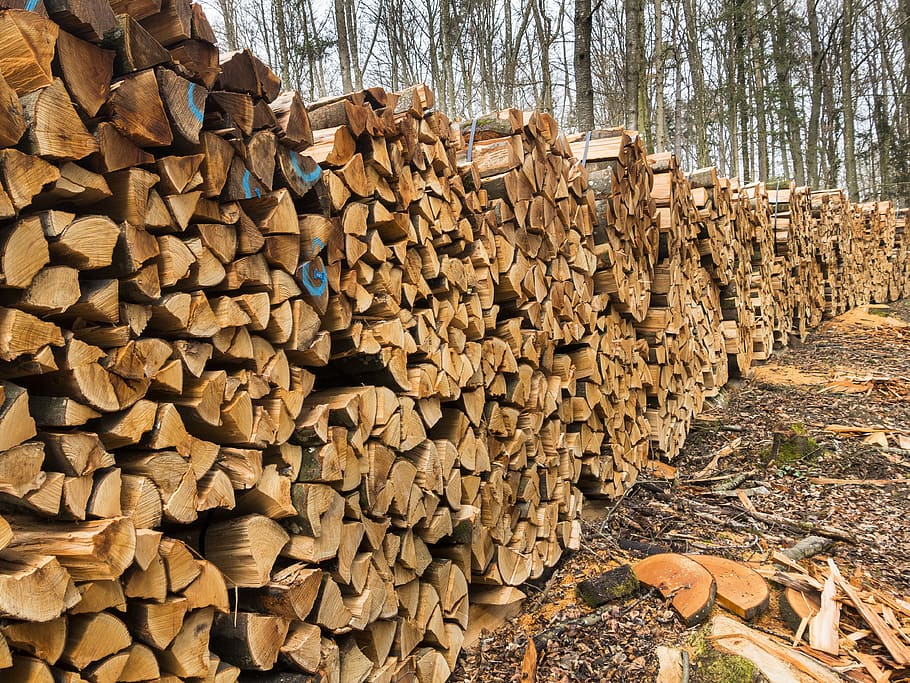
The type of wood being used in your stove should be noted. Hardwood materials are best for how they offer full bodies and are less likely to wear out. You have many hardwood options to consider, including walnut, oak, pine, birch, cherry, and douglas fir wood.
Ash produces more heat and burns steadily. Oak is a dense option that takes a while to burn. Birch tree wood can also produce more heat, although that option burns a little faster. Feel free to try out these and many other hardwoods.
2. Keep the wood dry
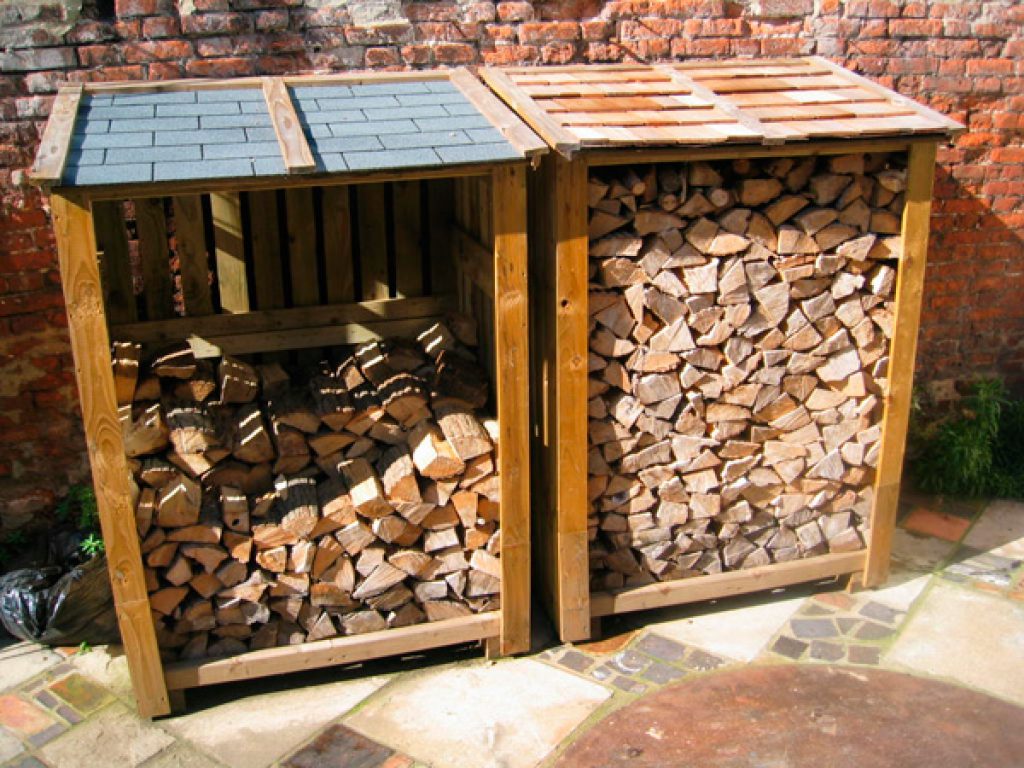
It is easier for your wood stove to burn off dry wood. More importantly, your dry wood will produce more heat. Dry wood has a reduced amount of moisture by weight and therefore will generate added energy.
3. Allow your wood to be stored for a little while

This third point relates to the second aspect. You should let your wood stay in storage for at least a year to allow the wood to dry. You have the option to add seasoning to help as well. You’ll have to look for a dry place in your home where you can secure the wood for the best results.
4. Use a proper seasoning material or process
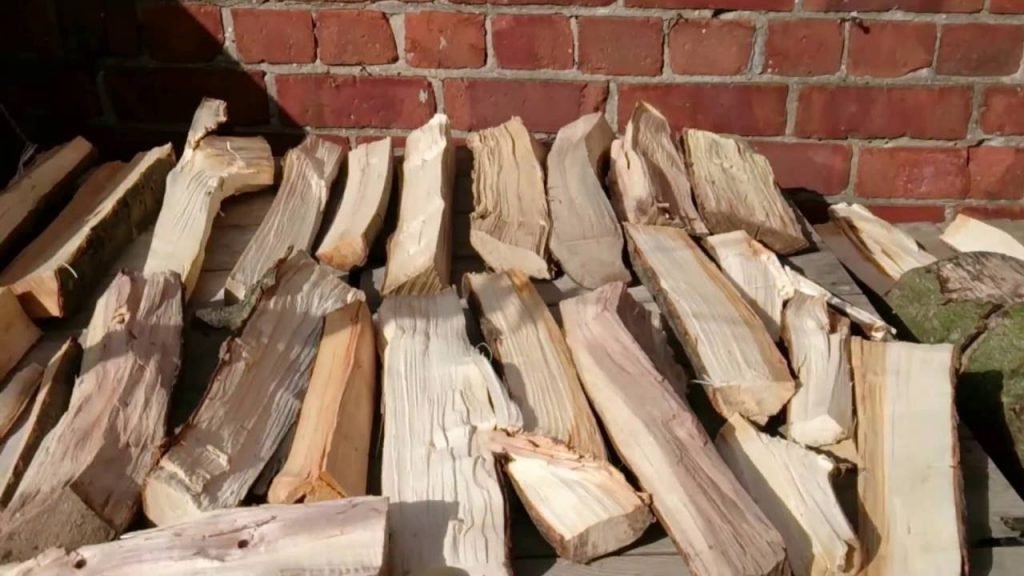
A seasoning material or process can be applied on your wood to dry out the surface. You can use a solution of urea and sodium nitrate to dehydrate the wood. A water seasoning process can also help as you would immerse the wood in water, thus removing the sap from the wood before you air-dry the surface.
5. Make sure the conditions inside the stove are hot enough
Check on the quality of the chamber inside your stove. The area should be at least 1,100 degrees Fahrenheit or 600 degrees Celsius for the wood to burn well. Anything colder will result in the wood smoldering. That is, the wood is hot enough to allow combustible gases to come out, but it is not hot to where those gases can burn.

A good idea is to add more wood to the stove before it cools down. This allows the gases inside the wood to be combustible while keeping emissions from being a problem. Also, the process prevents creosote from building up and keeping the stove from a heating well enough.
6. Review the quality of the smoke coming out of the wood stove
The smoke that comes out of your stove includes high-energy gases that have not been burned down. While you are expected to see some smoke come out of your stove, you should review the density of the smoke in question. Smoke that is highly dense and black would be a concern.
Dark smoke indicates that the wood in question is contaminated or wet. This can occur even after the wood has been seasoned. Also, dark smoke is a suggestion that you do not have enough wood in the stove.
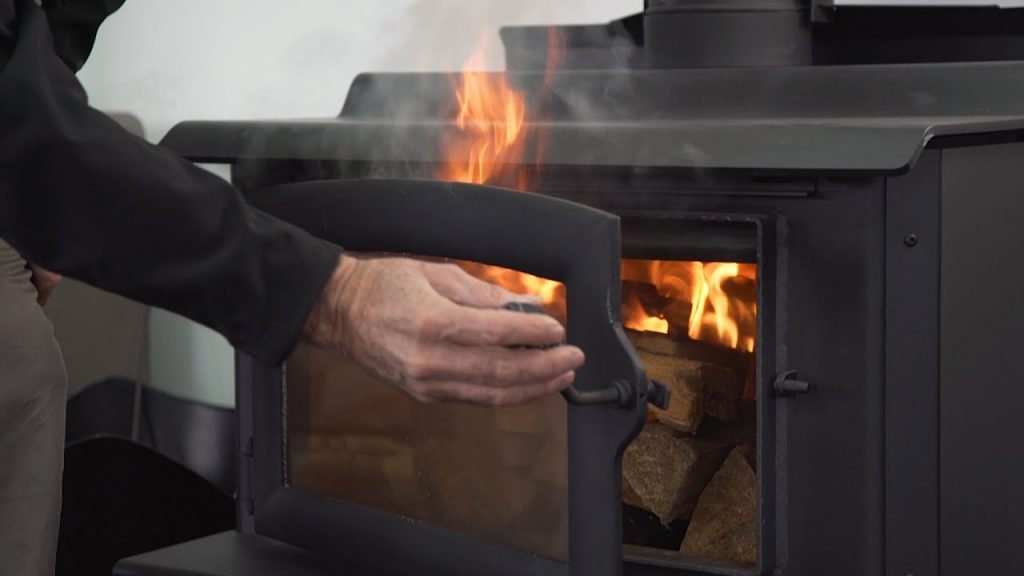
You would have to dry out the wood a little further and heat up the air inlet a little more to allow the wood to burn clean without producing lots of smoke. At this point, the smoke that is generated should be light and odor-free.
7. Analyze the flue pipe on occasion to ensure space isn’t clogged
You need to keep the flue pipe and other features around the stove open. Any soot or creosote from this area and other parts of the stove should be cleaned out. Getting rid of these items ensures that space will not be obstructed, thus reducing the blockages that might be produced in your stove.
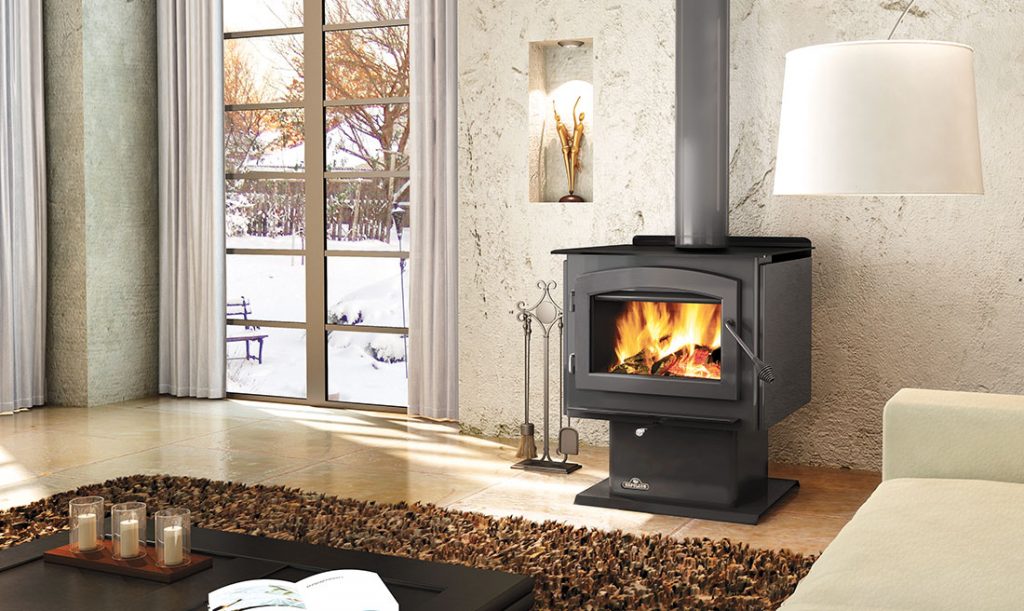
One other idea worth noting entails cleaning your wood stove a little more often if you have lots of pine wood. This wood will produce more soot than what you might get elsewhere.
8. Light the stove from the top down
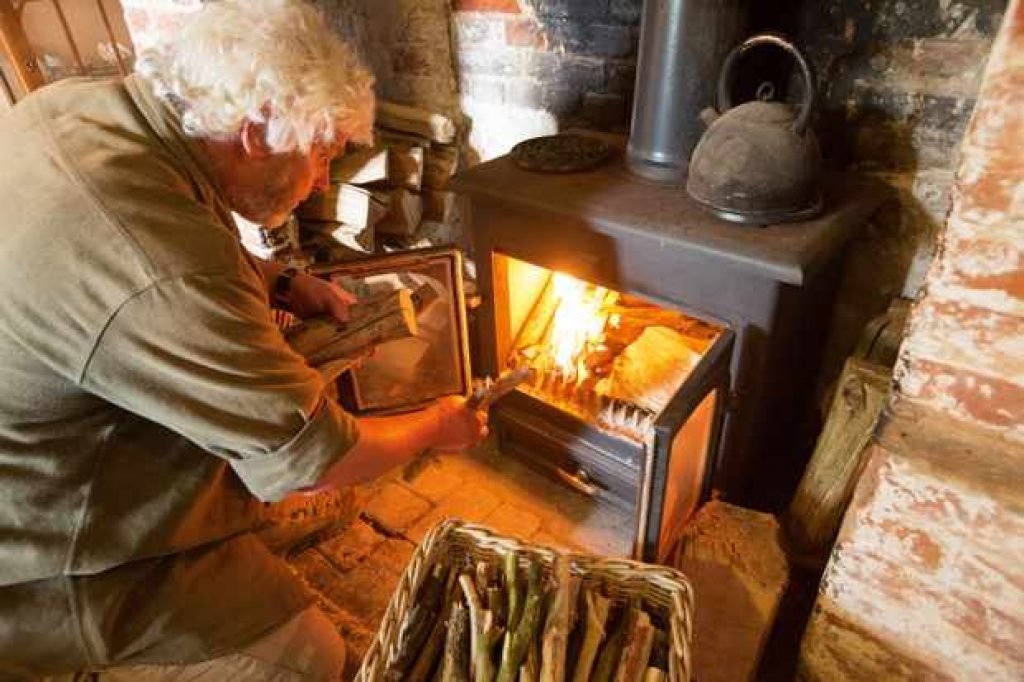
According to Paul LaPorte, CEO of a popular wood stove manufacturer MF Fire, keep the stove lit from the top down for the best results. You can stack logs of wood upward and then light a fire on the top of the wood. This allows the wood to burn downward, thus reaching the ideal operating temperature faster. Your gases will burn faster and more effectively at this point, while the wood load you produce will last a little longer and be more efficient.
9. Make sure you have enough logs
You cannot burn wood in a stove with only one log. The single log will die out after a while. Having more logs in your stove provides you with extra space for burning needs. The added turbulence produced in the stove allows more heat to move about, thus allowing the burning process to keep on moving.
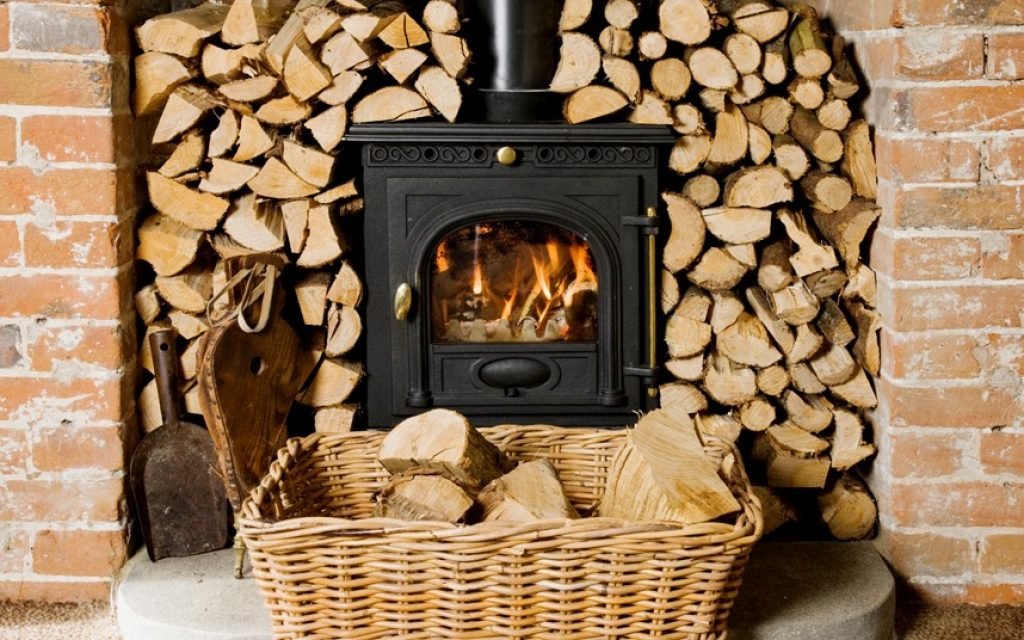
Turbulence, in this case, refers to when oxygen is able to mix with the wood molecules. You need to allow the wood to move through well enough. Adding more logs ensures that you can get added turbulence thanks to how well the wood gets in contact with the heat being produced. Of course, this works better when you have logs to make it all work. Don’t forget to ensure the ports for air are open and clear well enough to facilitate the general amount of turbulence needed here.
10. Only close down the dampers when the fire has burned down
You should not try closing down the dampers on your stove before the wood is fully combusted. While you might assume that you are controlling the heat being produced at a time, you are only causing the combustion process to stop. The lack of oxygen in the stove will be a problem.
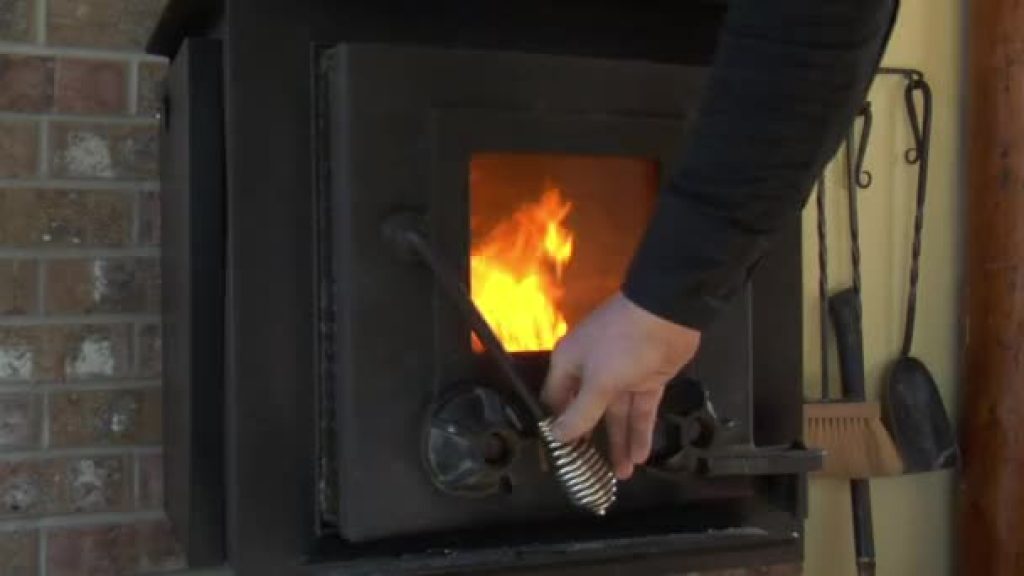
You should only close the dampers when the fire has burned down and there is no more fuel in your stove. At this point, the stove should only have a few embers glowing. You can do this when you are no longer planning on adding any further bits of fuel into the stove. This should be the point where the stove is ready to operate accordingly.