Even the most experienced digital photographer might not understand the many ins and outs that go into taking photos. There are many secrets surrounding digital photography that you might not know about, but they’re all easy to utilize.
Contents
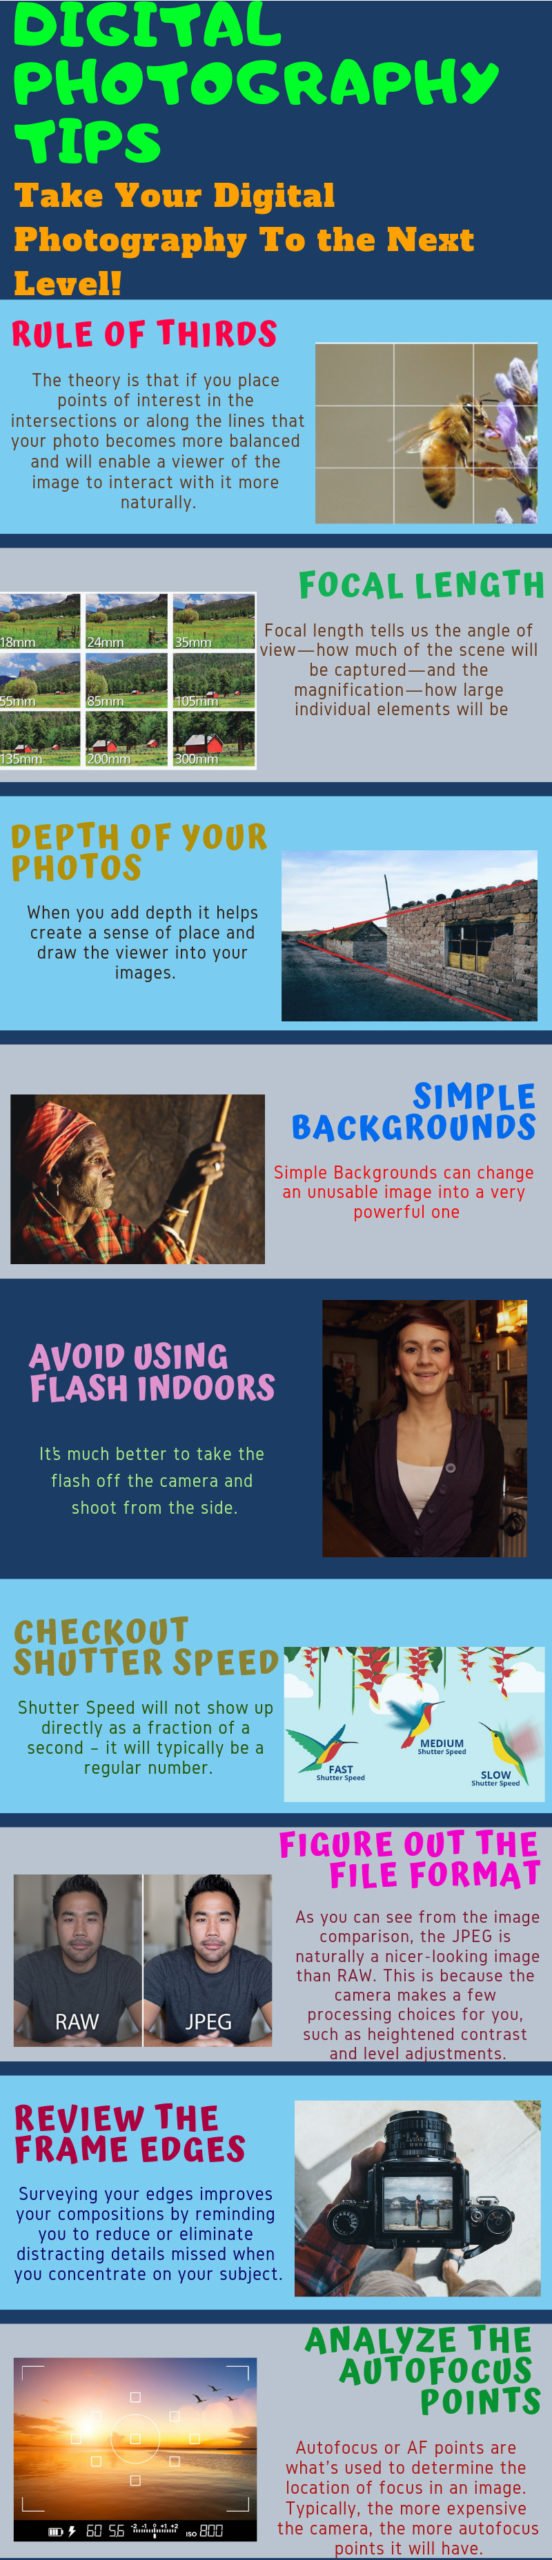
1. Take advantage of the rule of thirds
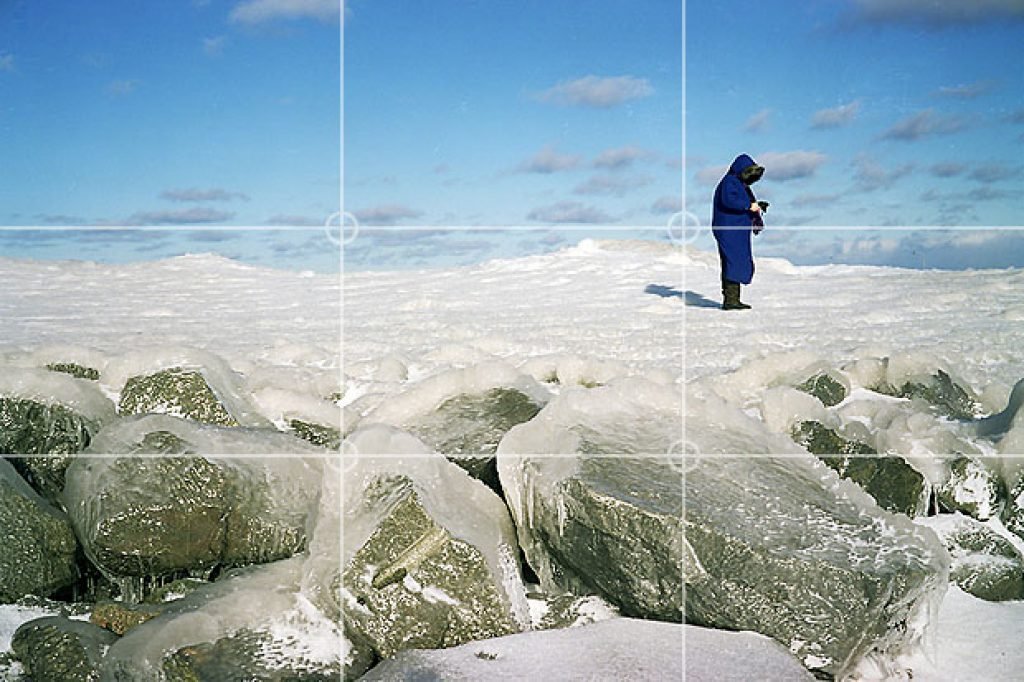
The rule of thirds is a fundamental aspect of photography that identifies what spots you should place the most focus on. You have to look at where in your photo your items are going to appear.
The rule of thirds states that a subject for your photos should appear in one of nine quadrants. You would have to divide your screen up into a 3×3 grid similar to a tic-tac-toe board. The grid will include many spaces where your subject material can appear on.
In some cases, the object can appear in the middle of one of the nine boxes. In other cases, the object may be on one of the four points in the middle that intersect with one another. You’ll need to look at how well the items in your photo are arranged. The best shots may entail your subject matter being in the middle part of the photo, although you’d have to look at how well the subject is distinguishable versus everything else in the frame.
2. Check the focal length of your lens and adjust the shutter speed accordingly
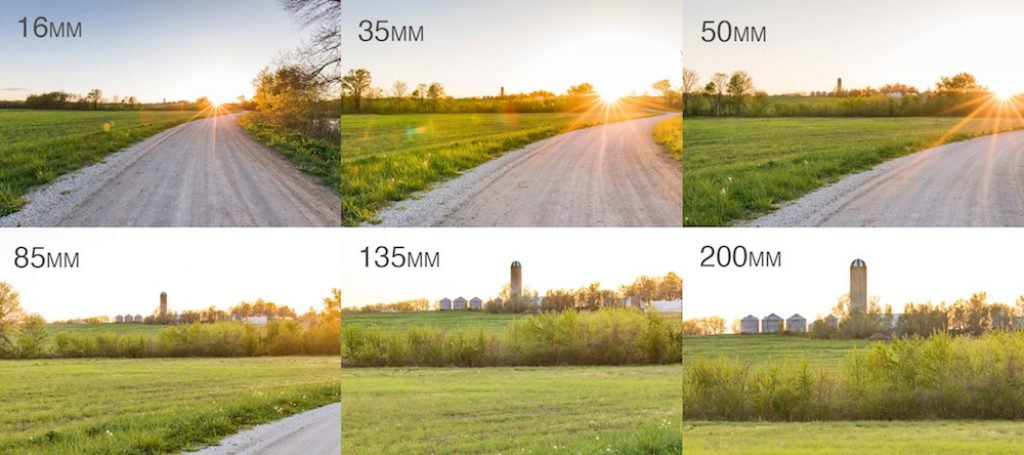
The focal length should refer to the size of the lens. You would take 1 and divide it by the size of the lens in its number of millimeters. The total you produce should be reflective to the minimum shutter speed you’re going to use in seconds. For instance, a 50mm lens should have a 1/50th of a second shutter speed at the least. The shutter speed determines how well you can shoot things that might shake or otherwise be hard to focus on.
Of course, this measurement would not be necessary if you had a tripod or another steady form of support on hand to keep your shots stable. But you should still notice how the focal length works.
3. Look at the depth of your photos
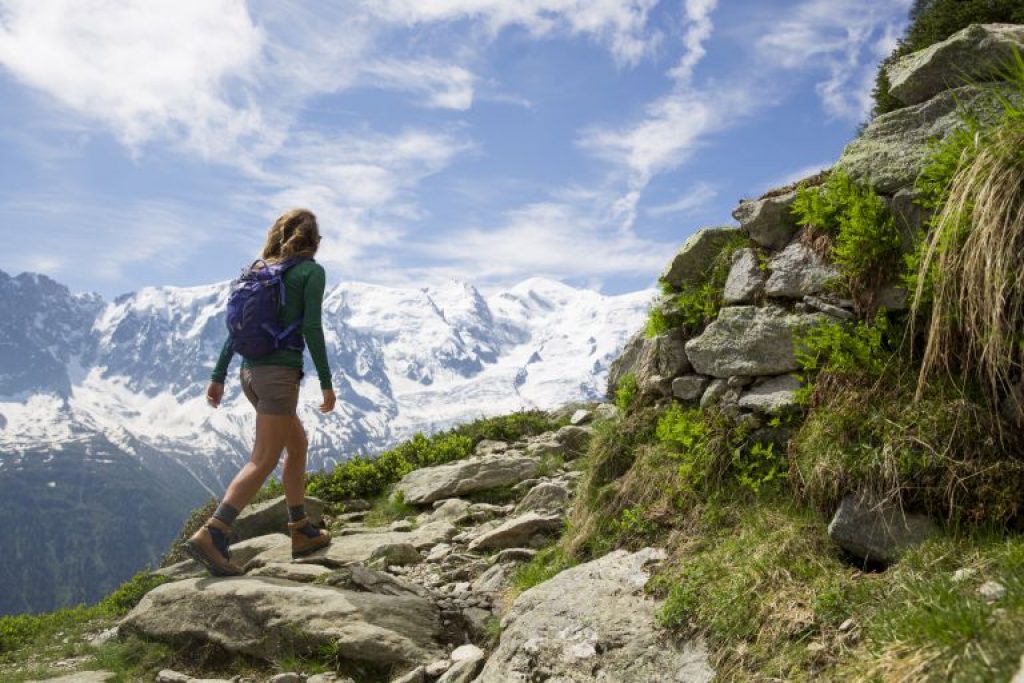
The depth in a photo refers to the detail in many layers. The depth should be measured based on the subject matter of your shot versus the background you are working with.
Review the size of the aperture when figuring out how the depth of your photos will work. Keep a small aperture if you’re going to take in a slower shutter speed. The aperture should be measured based on the angle as well. An f/16 or smaller aperture is useful if you want to keep both the foreground and background looking sharp for your shots.
4. Keep your backgrounds looking simple
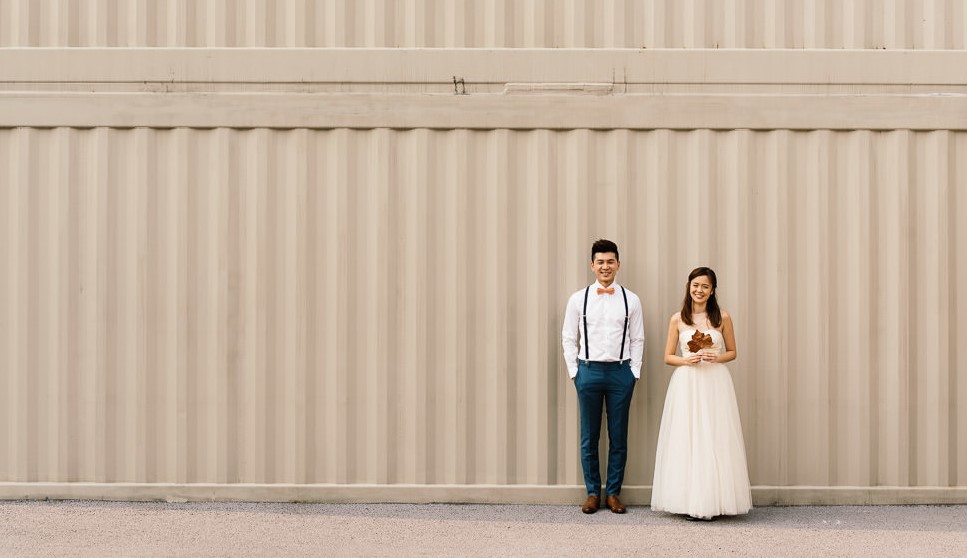
As attractive as a detailed landscape can be, a simple background may be good enough. Simplicity ensures seeing that the background looks distinct and that people know the things that appear here. Look at how well the background appears and that the space has a clean look to where people can identify the things that appear here.
5. Avoid using flash indoors
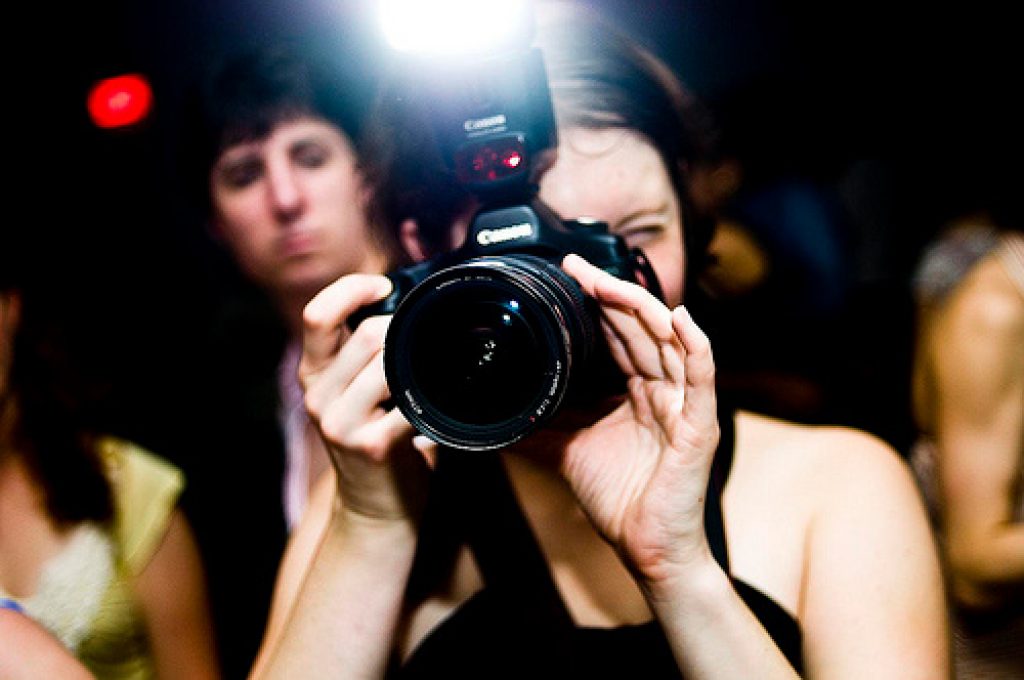
You have the option to use flash in many situations, but you are better off using flash outdoors. Using flash while indoors could be too risky. You might produce unnecessary reflections on what you are shooting. The subjects may be harder to distinguish, not to mention the people around you might be annoyed by the bright light.
You can still get good indoor shots off even if you are in a dark setting. You would have to use a higher ISO total at this point. Around 800 or 1600 should be good enough. You might need to get a new lens that supports a higher total. Also, you should use a wide aperture plus a tripod or image stabilizing lens to avoid image blur.
6. See how well the shutter speed works
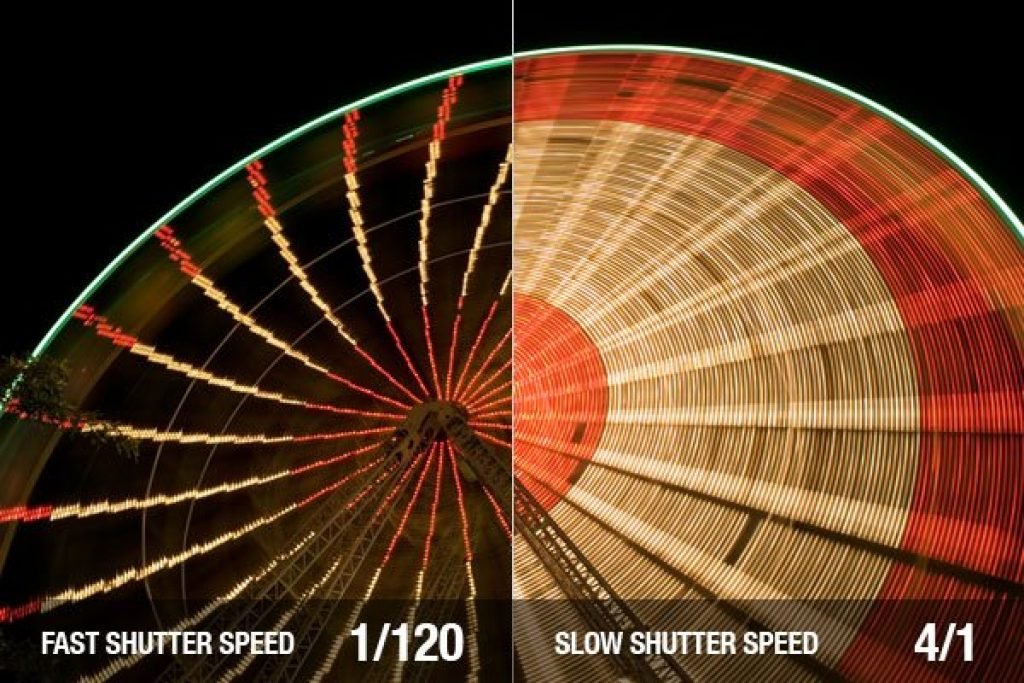
Be cautious with the shutter speed setting. You need to keep the shutter set at something that keeps your shots looking their best. A shorter speed helps for fast-motion shots. But you could also use a longer speed if you’re in a wide spot that might be tough to handle.
Experiment with multiple shutter speeds to figure out what works for you. A longer speed helps in spaces where the motions are repetitive, or items in the space are moving fast.
7. Figure out the file format you’re going to use when shooting images
Most digital cameras work with different file format setups. A raw file is the first option. A raw file works well for when you’re planning on retouching or adjusting any of the images you’re taking. Professionals often use the raw data format because they’re not trying to send their stuff out as soon as possible.
Meanwhile, a JPEG file is better if you need something simple that you want to share with people as soon as possible. A JPEG file will not take up as much data or memory as a raw image.
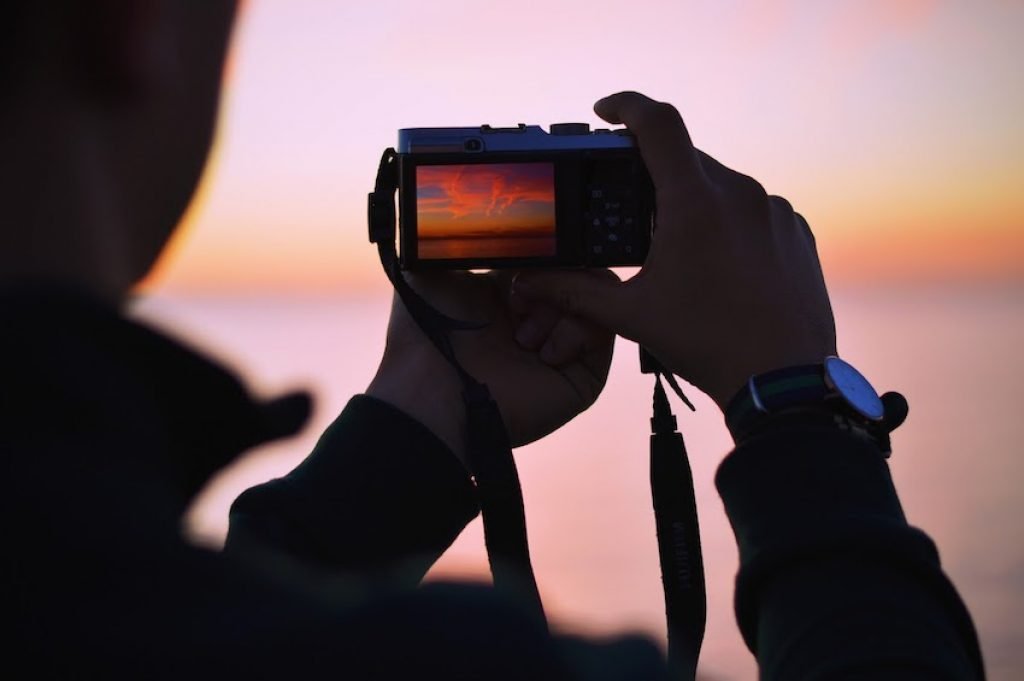
8. Review the frame edges with each shot

One of the greatest concerns surrounding the quality of your shots is that they often feature unwanted stuff on the edges. This is because the viewfinder that you use when taking shots can only cover so much space at a time. As a result, the far edges can feature unappealing things that can get in the way of what you are shooting. The good news is that you can check on your shot after you are finished shooting to figure out how well the frame edges look and that everything looks attractive.
9. Analyze the autofocus points on your camera
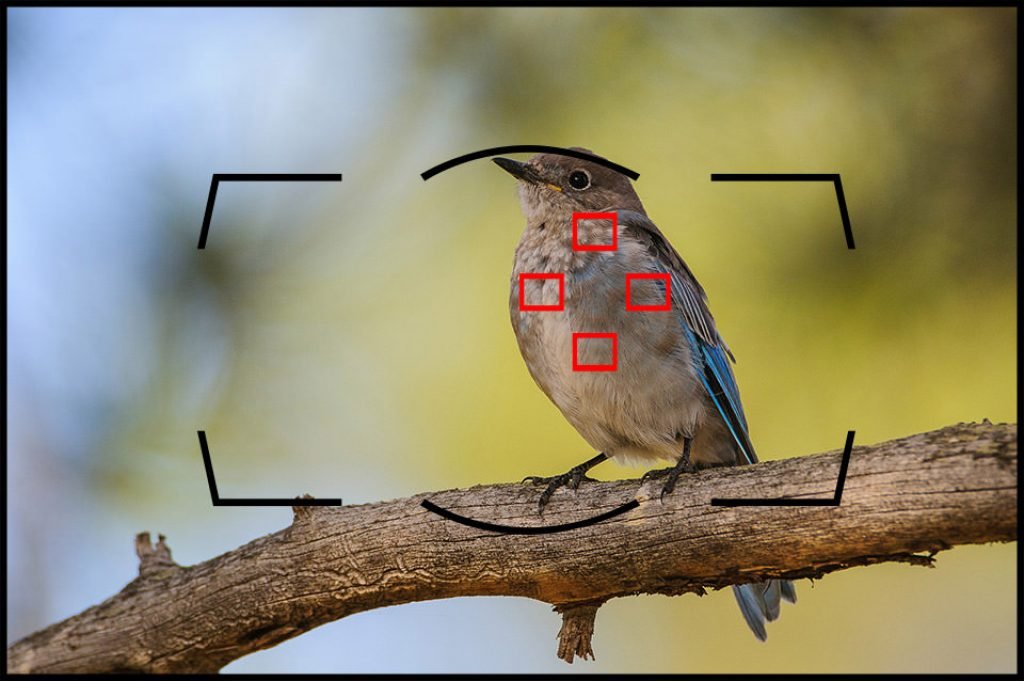
All digital cameras come with different autofocus points. The features you’re going to work with will vary based on what you choose though. The AF system should include multiple points arranged throughout the lens. Watch for how those points are arranged around the surface.
You might have to test a few shots to figure out how the AF works. These include shots that will entail different autofocus controls with many points in mind. You’ll need to notice how well you’re going to get these shots ready when you start.
10. Review the white balance for each shot
The white balance is a measure of the color balance on a shot. Your white balance has to be work on how detailed the shot might be and how thorough the look appears.
You can use various white balance presets if you wish, but you should be cautious when making them work. Warm light can make bright colors look intense, while cold light emphasizes darker colors. You can also produce a cloudy effect to create a warm feeling all around.
The white balance settings you’ll use will vary based on the camera you have. You can use different settings based on what you are using and how well the setup might work for your shots.
Each of these ten tips will help you with making the most out of your digital photography needs. Good luck with your work surrounding how well you’re going to take shots and make them work where you are.